Sunday, February 12, 2012

Wishing

I started at the beginning and read through my blog and everyone's comments today. I am happy with the quilt and the blog. I appreciate this method of teaching us about Information Inquiry. We could chose our subject and learn about it. This makes it more exciting and fun.

What did I learn?

  1. I learned how important visual props can be. Example: Most of my contact and information was either phone calls or emails. There was no hands on with my "instructor." Because of this experience, I began making videos for my online students to access from the web page.
  2. I learned that I can learn from my mistakes. I didn't think to ask about the size of the quilting machine. That was an assumption on my part.
  3. I learned to set limits for myself. It was okay to start with precut fabric pieces. The product wasn't as important as the process. But I love my quilt!
  4. I learned that Inquiry is definitely not linear, as indicated in my Concept Map. I was all over the place going back to Wondering and Webbing many times.
  5. I learned that students don't have to be robots; they can have their own ideas.
  6. I learned that there are many ways to teach a concept. We just participated in a great one!

I also reviewed what technology-based elaborations I used. They are:

  1. Concept Map - included in the blog. It indicates my Inquiry Process.
  2. Web-based Tool - OneNote was used to keep track of my notes. OneNote can be viewed through Microsoft Live or I also will put a link on the blog.
  3. Bibliography - included in OneNote. I will attach it to my paper.
  4. Electronic Communication Tool - I used email to correspond with my friend. Some of the emails are included in the blog.
  5. Productivity Tool - I used a digital camera to document the steps in the creation of the quilt. I also created a mobile blog to access my Quilting Quest blog.
  6. Notetaking Tool - Microsoft OneNote - The note book has several folders, quotes, resources, emails, Paper outline and ideas, my Wondering questions and shopping list.

My overall impression of this project is that it is a very good assignment. I was allowed to take ownership of my education. I was doing something. As John Dewey (1916) said, "The type of activities that stimulate real involvement give pupils something to do, not something to learn; and the doing is of such a nature as to demand thinking, or the intentional noting of connections; learning naturally results" (Democracy and Education, p. 181).

Saturday, February 11, 2012

Waving!

Here it is! I finally finished it today! Now what do I do with it? What do I do with the information I obtained? First, the quilt will go to my son. Secondly, the finished product is more than the finished product. It is the steps traveled and the knowledge gained. Yes, I learned to make a quilt. I also learned there is a lot more to quilting that I don't know. I didn't design the pattern. I didn't cut out the shapes, but I did sew them together and completed the project. I now know more about what is involved in piecing a quilt and found that I enjoy it. What does this do for my classroom? By forcing myself to think about the inquiry process, it will change my classroom. I was at a disadvantage with my source because it was all distance learning. (I need to remember that with my IUPUI students who are taking an online course with me). I needed the visual aids to complete the quilt. Because of this experience, I began making videos with camtasia software and posting the videos for my students to see what the program should look like and how it should run when it is completed. There is more, but I will save that for Wishing, the subject of tomorrow's blog. For now, I am celebrating!
A part of Waving should include explaining your process. I have included a Concept Map of the process and will go into greater detail tomorrow about the map. When you study the map, you can see that nothing was ever linear. I would get started and then would have to go back for more information whether it was from my friend, from a quilting book or magazine, a library friend or the quilting lady. "It is important to recognize that the process of scientific inquiry is not linear. When students learn about the process, they often try to simplify it into a series of steps to follow. Teachers, too, often teach inquiry as the “scientific method” with a lock-step linear process. Why do students and teachers try to make inquiry a step-by-step process? They are misled by the formal, orderly way scientific research is published. Students and teachers may believe that scientists went about answering their questions in the same orderly fashion. In fact, that is not how science is done. Aspects of scientific inquiry interact in complex ways. New evidence, new observations, and new lines of questioning can lead scientists in a circuitous route, the end of which, they hope, is a good explanation for a set of phenomena. For example, questions lead to the design of an investigation, and the evidence gathered through the investigation may lead to more questions"(Doing Science). http://science.education.nih.gov/supplements/nih6/inquiry/guide/info_process-c.htm

Concept Map

Weaving . . . in a bind! :)

I guess you could say that I am in a bind! I am using the pieces that were cut off because I made the quilt too wide for the binding. There are several ways to finish a quilt, but taking the advice of the experts, I folded 1-2" wide long strips in half, pressed the strips and sewed them to the quilt. Next, pin the folded edge over on the quilt and hand sew the binding. They told me I could machine stitch it if I wanted, but most professional quilters hand stitch. Well, I want to be a professional so I hand stitched it. Which was relaxing because I could watch TV at the same time. (I have not watched TV in several years). A little bit of Webbing here . . .

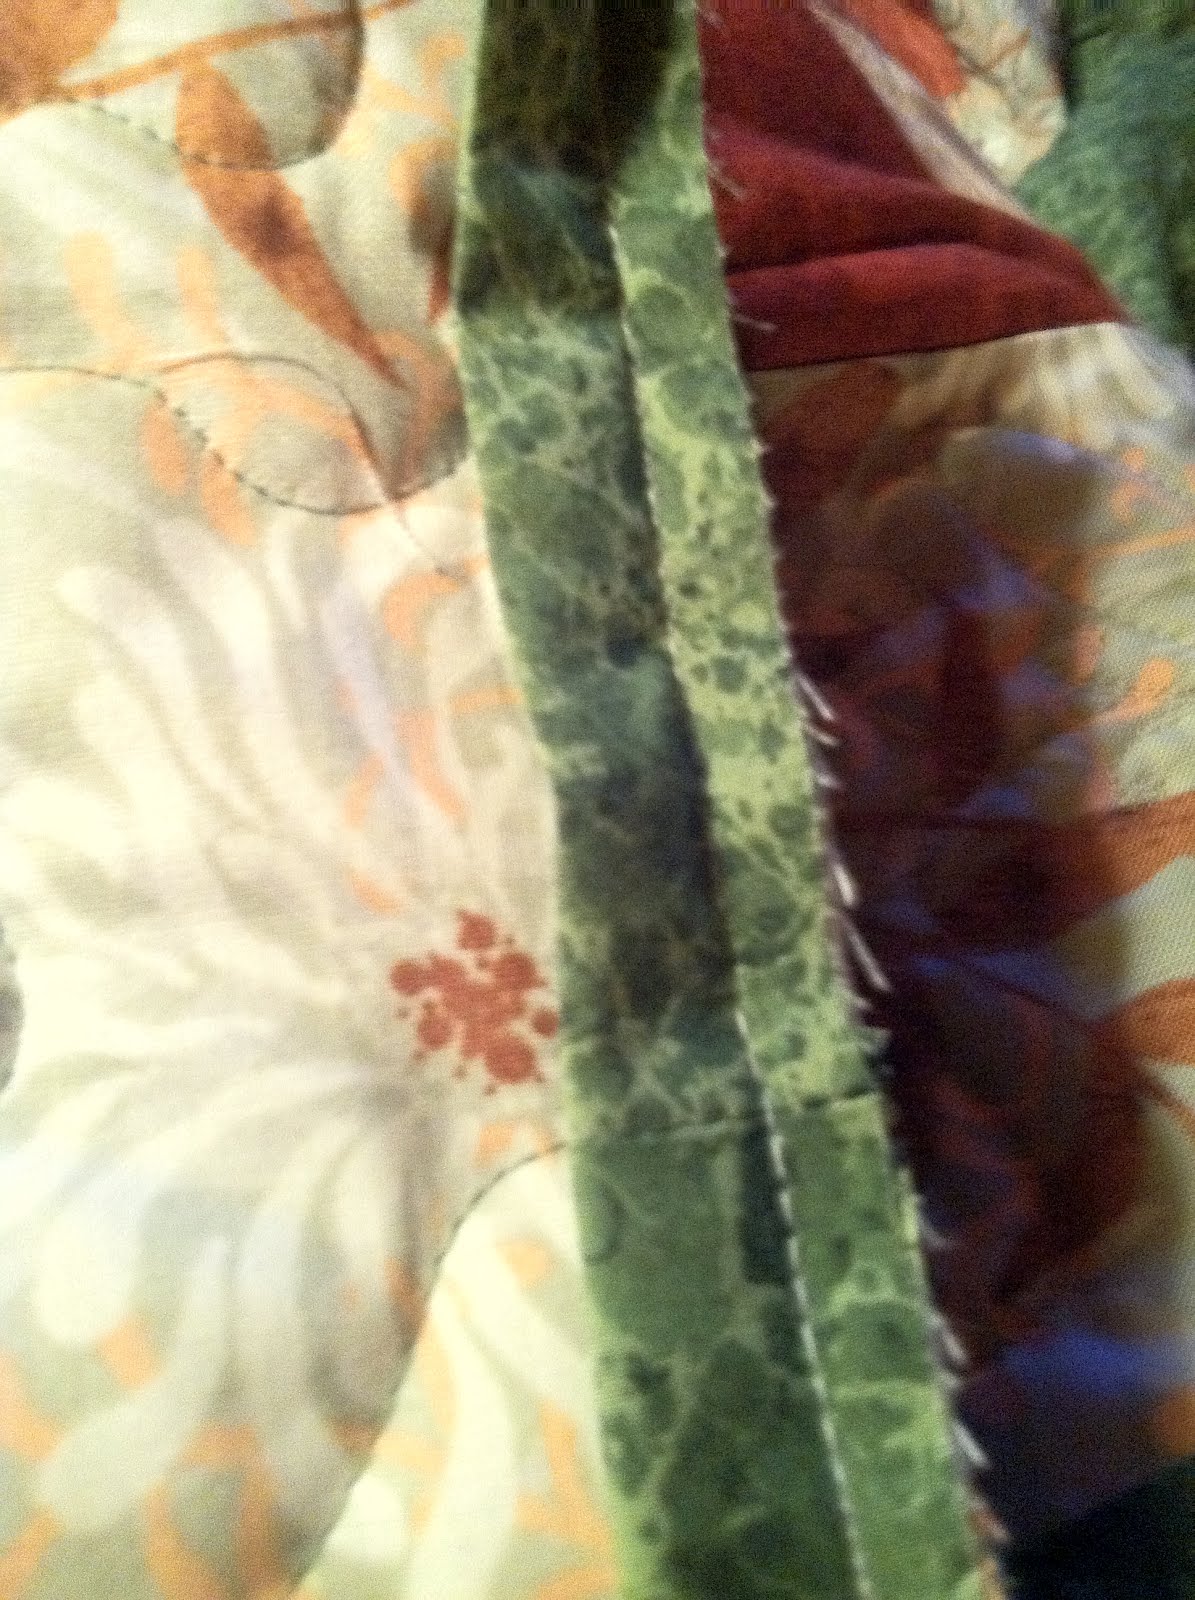
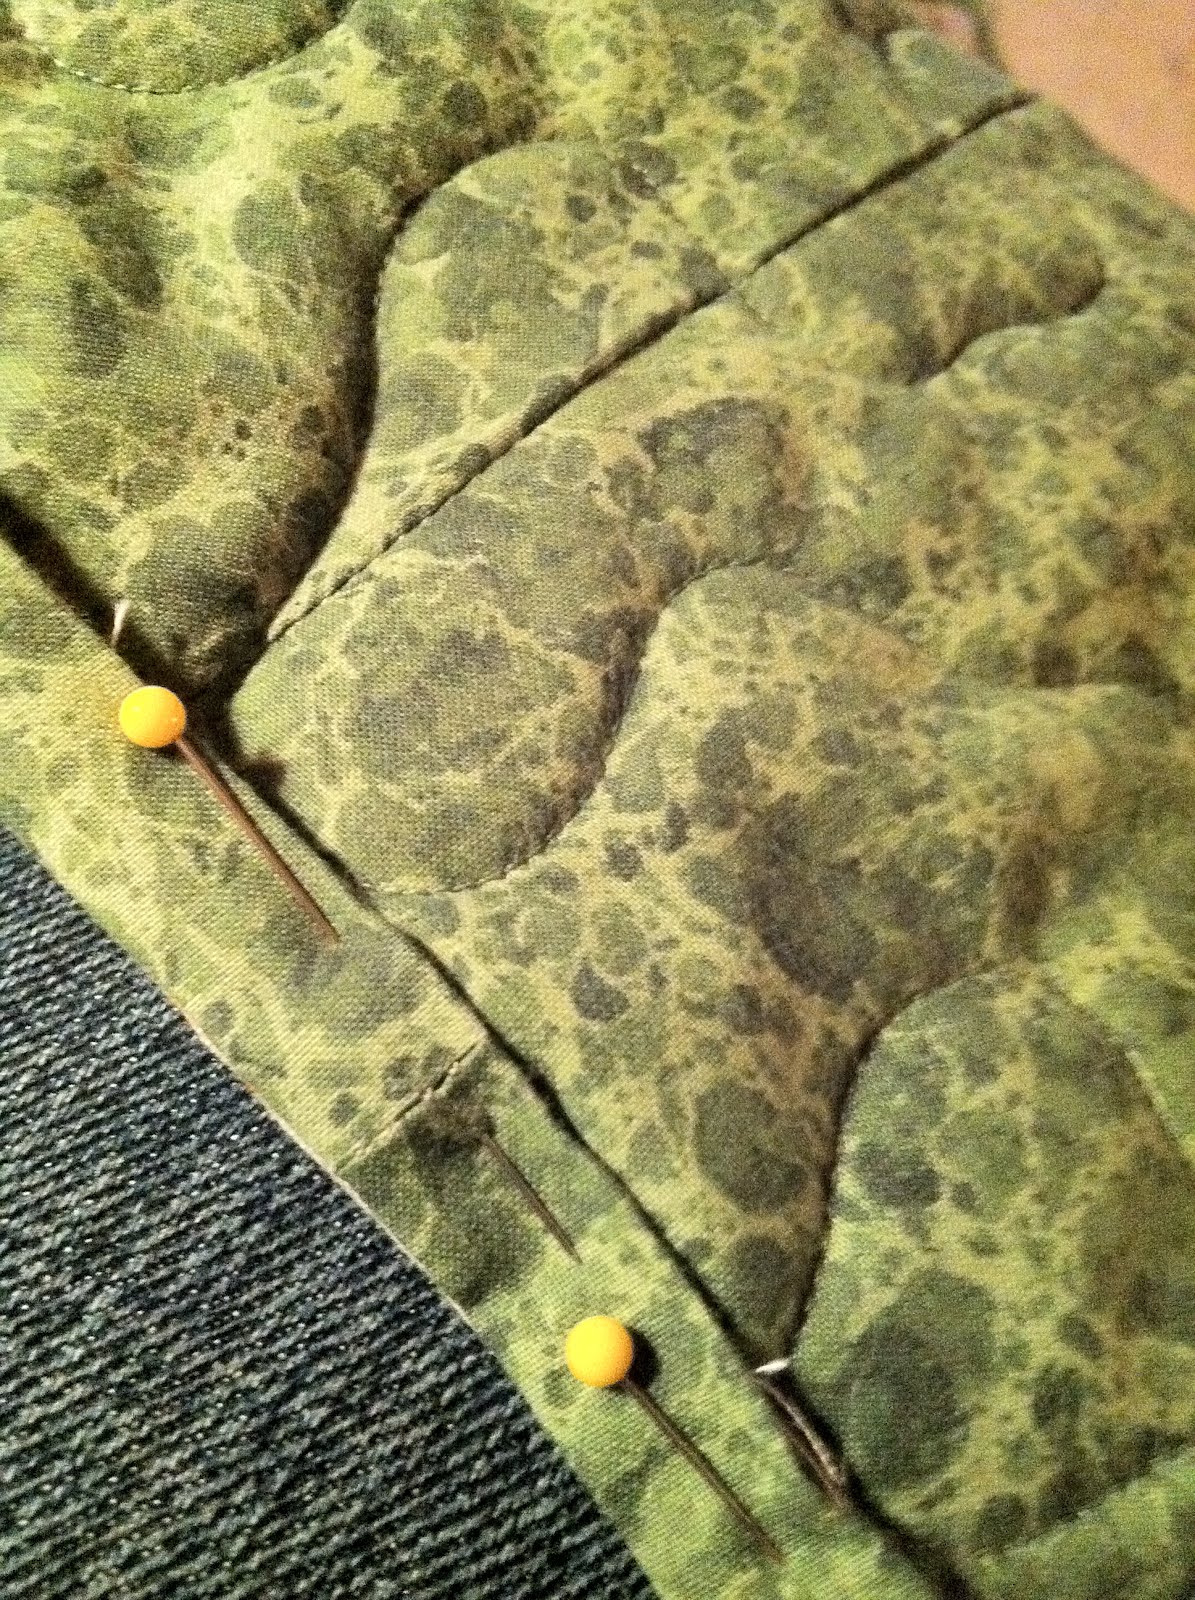
I had to make a quick email to my friend. I didn't know how to do the corners. I found the professional way was to fold the very tip of the corner in and fold the sides in and over it. It gives it a mitered look, like a picture frame.

This is the content from our email:

Regarding the binding...I think you are telling me that you have sufficient fabric on the top to turn under and stitch it down. Some people like the looks of that; however, that is not what most quilters do.

I prefer cutting 2 1/4 inch strips (WOF=width of fabric) sufficient to go around the quilt. Join the strips using a 45 degree angle so that the bulk of the seam is not all in one place. After joining the strips fold the one long strip in half length-wise and iron it. Place the raw edges along the raw edges of the quilt and stitch 1/4 inch seam. Turn the binding to the back (this will be the folded edge) and hand stitch in place using a blind stitch about 1/8 to 1/4 inch apart.

How do you handle the corners, you say?? Well, you miter them. Look up on the internet mitering corners of binding. About.com or other sites should have tutorials on how to do this. In this case, pictures are worth a thousand words. I could demonstrate much better than I can tell how to do it.

Some people attach the raw edge to the back side of the quilt and bring the folded edge up to the front and machine sew it down. In my book, that is hard to do and have it look nice.

I have never looked deeply into getting a top-quilting machine. I have heard that the width of work space is a major concern (I think that this would be very important.) Some of the cheaper machines only allow 8 inches wide quilting space across the quilt. I fear that would limit you too-o-o much. the other thing to consider....how wide of a quilt can one comfortably quilt. If you think you will only be making full-size bed quilts...okay, the smaller machine might work. However, most people have queen or king size beds anymore. Therefore, I am thinking don't limit yourself too much!

Hopefully, this epistle has answered your questions. If not, send me more questions. Eleanor

My email:

Good morning!I took my quilt to the quilter lady and now I can't wait to get it back. I saw her machine, it is huge. It takes up her entire familyroom. I have a question for you. When I get it back, what is the best way to bind it? There is enough all the way around to use it and turn it under and stitch it. But I'm not sure if that is the correct or the best way to bind it. I don't want to mess it up at this point! Also, I read that lady's blog about her less expensive machine. What do you think? She sems to like to okay for just doing her own quilting. Hope you are both well! Thanks for your help, Cathy

Thank you! You have answered my questions! and yes, I don't want to be "stuck" making only smaller quilts. I think I will wait and see what I like to do. It's probably too early in my endeavors to jump at purchasing something anyway. thanks again and have a great weekend! Cathy

Image of the folded fabric for the binding.
Image of the binding attached to the quilt.
Image of the attached binding pinned in place for hand-stitching.
Documenting step-by-step progress would be a good way to keep students on track and also to encourage them when they make a mistake. The teacher can say, yes, you made a mistake, but look at what you have done so far. The classroom should be a place where students, both adults and children aren't afraid to make a mistake. “Learning happens fastest when the novices trust the setting so much they aren’t afraid to take risks, make mistakes, or do something stupid"(D. Meir, 2002). http://www.nassp.org/tabid/3788/default.aspx?topic=Trust_The_Key_to_Leading_a_Learning_School

Webbing . . . and A little bit of Waving!

I picked up my quilt last evening!  She trimmed it down to fit her quilting machine and did some really fancy designs on it.  I am attaching a photo that shows it without the edges bound.  Before picking up the quilt, I talked again to my quilter friend and asked how to bind (that's the big word for finishing the edges).  In a classroom, I would add the word to a spelling/vocabulary list as an important word to know, because it is the correct term to use in reference to this step.  My friend told me how to bind the edges, but I also thought I would ask this lady because she is also an expert and I can see a visual example as well as oral instruction.
"It is estimated that 40 - 65% of the population may be classified as visual learners. Visual learners learn best when concepts are presented in a graphical format" (Lamb). I am finding so much of my instruction on this project was oral that many times it was difficult to grasp the concept.  Sometimes it made me nervous, not wanting to make a mistake on my quilt.  I was also worried about the quilt being square.  I asked for suggestions on next time I make a quilt.  She assured me my quilt was very square.  She said she was surprised because many people who quilt all the time bring her quilts that are not square and she has to work very hard to make them line up on her machine.  I was happy to know that I was doing that correctly!  Encouragement goes a long way doesn't it? Putting myself in a student's shoes, I can see how that little bit of encouragement makes the student want to keep on going with the project.  I was nervous to take the quilt to her originally.  Embarrassed too.  Unsure.  That encouragement meant a lot!
Teachers should "link learning success to students' personal effort and ability." (Callison, The Blue Book, p. 440).


Image of unfinished edge of quilt.
Now it is time for BINDING.

Friday, February 10, 2012

oops! - Webbing?

I have anxiously been waiting to here from the lady machine-quilting my pieced top.  Well, I heard from her yesterday and I made a mistake, but it's easily fixable.  She just wanted to know how to proceed.  I made the quilt king size but her machine will only go as wide as a queen size.  I really didn't need it to be a king size.  I just had extra fabric and added it to the two sides because it was available.  Basically she is simply trimming the sides a few inches.  She said I may get it back today! 

That was something I didn't think to ask; how large could the quilt be?  So I made a mistake, but it was fixable and I learned from it.  So it's all good right? And according to How to Accept and Learn from your mistakes, I should be happy! 

"People who can learn from their mistakes are often some of the happiest folks around. They understand that life comes with its natural ups and downs, and they're not afraid to look themselves in the mirror, admit that they were wrong and move on to their next endeavor."
This may not be a professional-type quote.  I wouldn't use it in professional writing, but it got me smiling!

Saturday, February 4, 2012

Wiggle - Finished Top!

I finally have the top pieced, and took the pieced top, batting and backing to a lady who has a big quilting machine.  It has long rollers on both ends. The three layers are started at one end and rolled onto the other end.  The quilting machine is in the middle.  The quilter guides the quilting machine over the top of the quilt in a pattern.  When she is done, she will return it to me and I will finish the quilt by binding the sides.  I can't wait!  I am going to try to get a photograph of my quilt on her machine.

I talked to my friend who is the expert quilter.  She said my quilt was too larger to do on a regular machine, that I would not be able to roll it up small enough to get the sides through the machine in order to quilt the center.  Her recommendation was either hand quilt it or take it to someone with this big machine.

I asked where to find someone locally to do this.  She told me to look for a quilting group and contact them.  So, I asked at the library and they put me in touch with a quilting group, who then recommended this lady.  They also invited me to join the group!  I told them I was a beginner and was told that was fine, that everyone has to start somewhere.  I asked what they do and was told they meet once a month on Tuesday evenings and talk about their projects, give suggestions and just have a good time.  I am thinking of joining them.  I think I would learn a lot from this group of ladies. Life-long learning right?

It appears to me that what they are doing, is continuing to learn from each other and also participate in "waving" showing what they have accomplished.  

Here is the finished top: